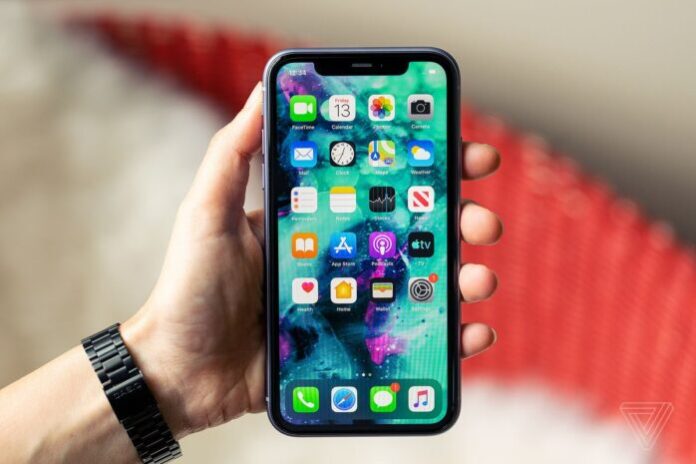
Taking pictures with the iPhone or iPad is extremely easy, but owning one doesn’t mean that you’ll take good pictures.
Luckily, pictures that are misaligned and off-center can be straightened using the Camera apps built-in editing tools.
5 Steps to traighten and realign photos on iPhone and iPad
Step 1:
Open the Photos application -> and select a photo that you wish to straighten.
Step 2:
With the image open: Tap Edit in the top-right corner.
Step 3:
This will bring up the editing options below the selected image. Tap on the Crop icon to bring up the cropping options.

Step 4:
You should notice a dial beneath your image. Using the dial we can adjust the orientation of the image to straighten and align it more to our liking.
The numbers signify the amount degrees you are shifting the image. You will also notice that your image will zoom in slight to enable the new alignment.
This workaround is best for images with some space around the sides. With the extra spacing, the cropping won’t have such a drastic effect on the image. When you are happy with your correction tap Done to save the changes.
Step 5:
If you are simply trying to Rotate an image, tap on the rotate icon to the bottom left of the dial. This will flip the entire image.Having the ability to straighten images is great without leaving the native camera app is super convenient.

