
A deck can be a wonderful addition to any home, providing a space for relaxation, entertainment, and enjoying the outdoors. Building a deck may seem like a daunting task, but with the right guidance and step-by-step instructions, it can be a rewarding project that adds value to your property.
In this comprehensive guide, we will walk you through the process of building a deck, complete with detailed instructions and accompanying pictures to help you visualize each step. Whether youre a seasoned DIY enthusiast or a novice builder, this guide will equip you with the knowledge and confidence to create a beautiful and functional deck for your home.
So grab your tools and let’s get started on this exciting project!
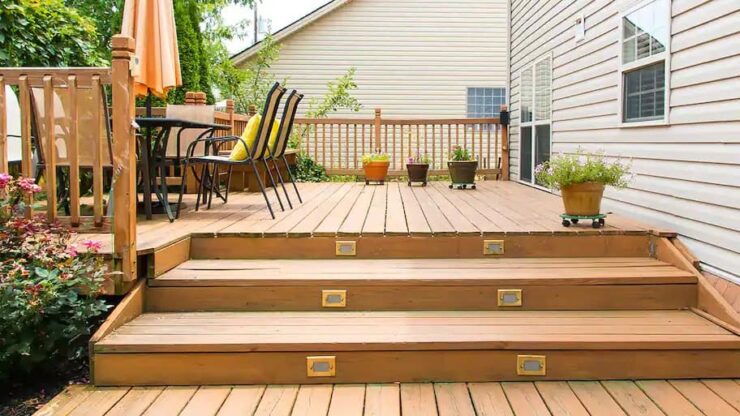
Planning and Designing Your Deck
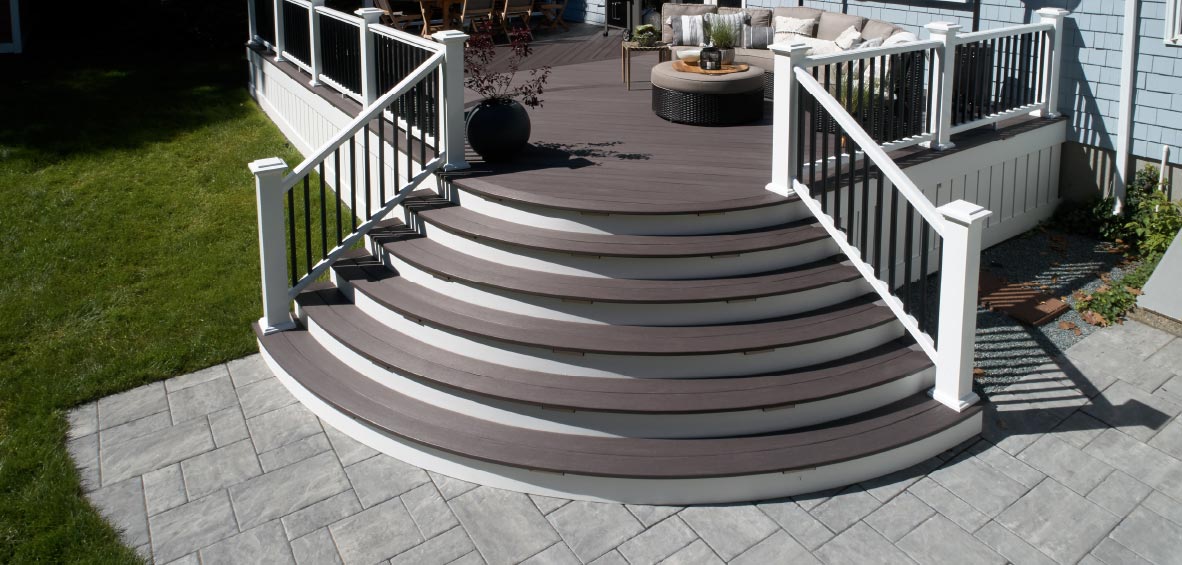
Planning and designing your deck is a crucial step in the deck-building process. Before you start construction, it’s important to carefully plan out the layout, size, and features of your deck to ensure it meets your needs and complements your outdoor space.
Consider factors such as the orientation of the deck, any existing landscaping or structures, and the overall aesthetic you want to achieve. You’ll also need to take into account the materials you’ll be using, whether it’s traditional wood, composite decking, or another option.
By taking the time to carefully plan and design your deck, you can create a functional and beautiful outdoor living space that you’ll enjoy for years to come.
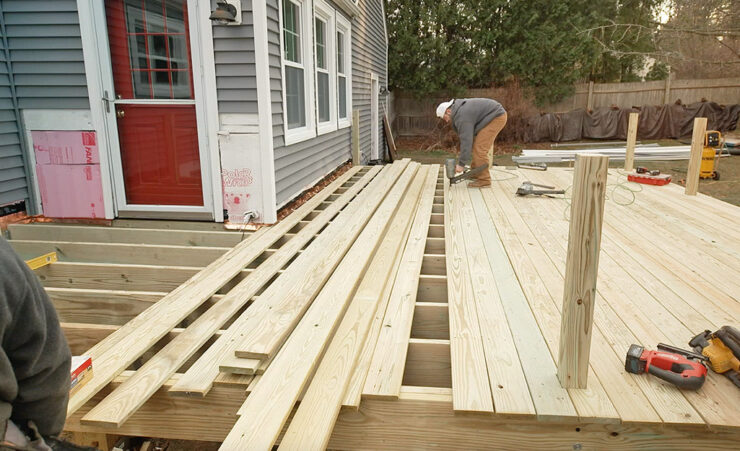
Gathering Materials and Tools

Before you start building your deck, gathering the necessary materials and tools is key to ensuring a smooth construction process. Begin by making a list of all the materials needed, including lumber, screws, nails, joist hangers, and concrete mix for footings.
Measure the dimensions of your deck area to determine the quantity of materials required. Additionally, make sure you have the necessary tools on hand, such as a circular saw, drill, level, tape measure, and safety gear like gloves and goggles. It is essential to have everything prepared and organized before starting so that you can work efficiently and minimize any delays during the construction process.
By having all the materials and tools ready, you will be well-equipped to follow each step of building your deck with confidence and precision.
Installing Ledger Board
To begin the deck-building process, the first step is to install a ledger board. This board will provide support for the deck against the house or other structure.
It is important to carefully measure and mark the location of the ledger board, ensuring it is level and secure. Once the board is in place, attach it securely using lag screws or bolts.
It is crucial to follow the proper building codes and regulations to ensure the ledger board is installed correctly and safely. By taking the time to properly install the ledger board, you will create a solid foundation for the rest of the deck-building process.
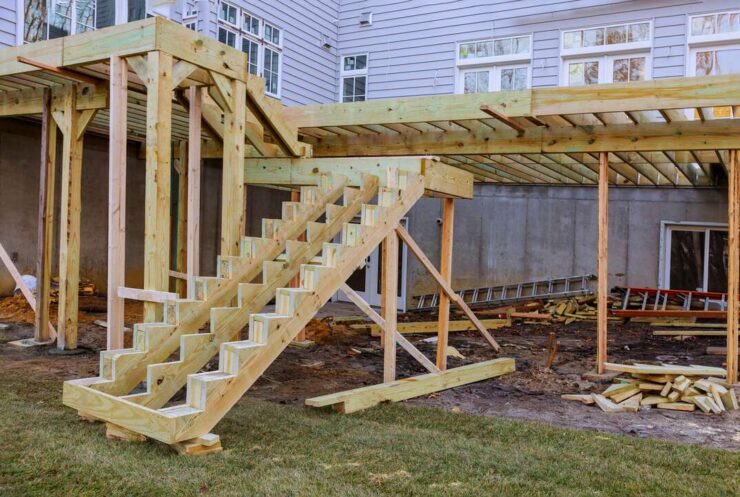
Installing Footings and Posts
One of the crucial steps in building a deck is installing footings and posts. This process is essential for ensuring the stability and support of your deck structure.
Begin by digging holes for the footings according to your deck plans and local building codes. The depth and diameter of the holes will vary depending on the size and weight of your deck.
Once the holes are dug, pour concrete into them and insert post anchors. Make sure the footings are level and allow the concrete to cure before moving on to the next steps.
Next, install your posts on top of the footings, making sure they are securely anchored and plumb. This will provide the foundation for the rest of your deck construction.
Installing Beams and Joists
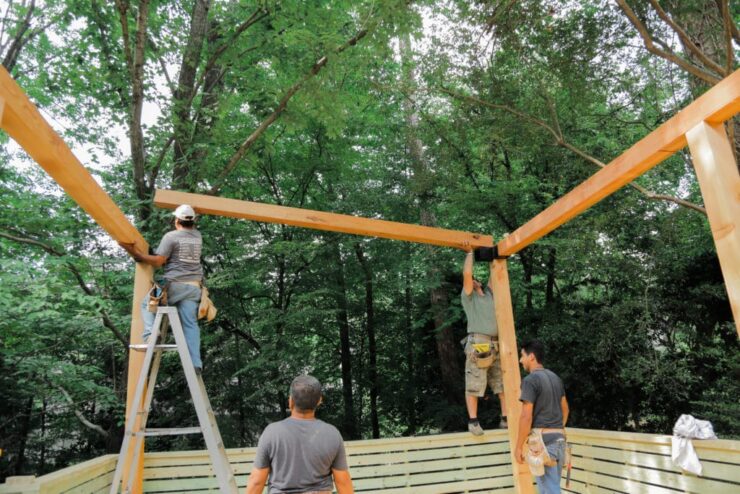
Installing beams and joists is a critical step in building a deck that will provide the necessary support and stability for years to come. Begin by laying out the perimeter of the deck with string and batter boards to ensure a straight and square foundation.
Next, place the beams perpendicular to the house, making sure they are level and evenly spaced. Attach the beams to the house with ledger boards and hangers, using lag bolts or screws for secure attachment.
Once the beams are in place, install the joists perpendicular to the beams, spacing them according to the deck design plans. Use joist hangers to attach the joists to the beams, ensuring a strong connection.
Finally, check for levelness and make any adjustments as needed before moving on to the next step in building your deck.
Conclusion

In conclusion, building a deck can be a rewarding project that adds value and enjoyment to your home. By following the step-by-step guide with pictures provided in this article, you can confidently tackle this DIY project with ease.
Remember to always prioritize safety, proper measurements, and quality materials to ensure a sturdy and visually appealing deck. If you feel overwhelmed or unsure about any step of the process, consider reaching out to a professional deck company, such as deck company Toronto, for assistance. With patience and attention to detail, you can create a beautiful outdoor space that you and your loved ones can enjoy for years to come.