
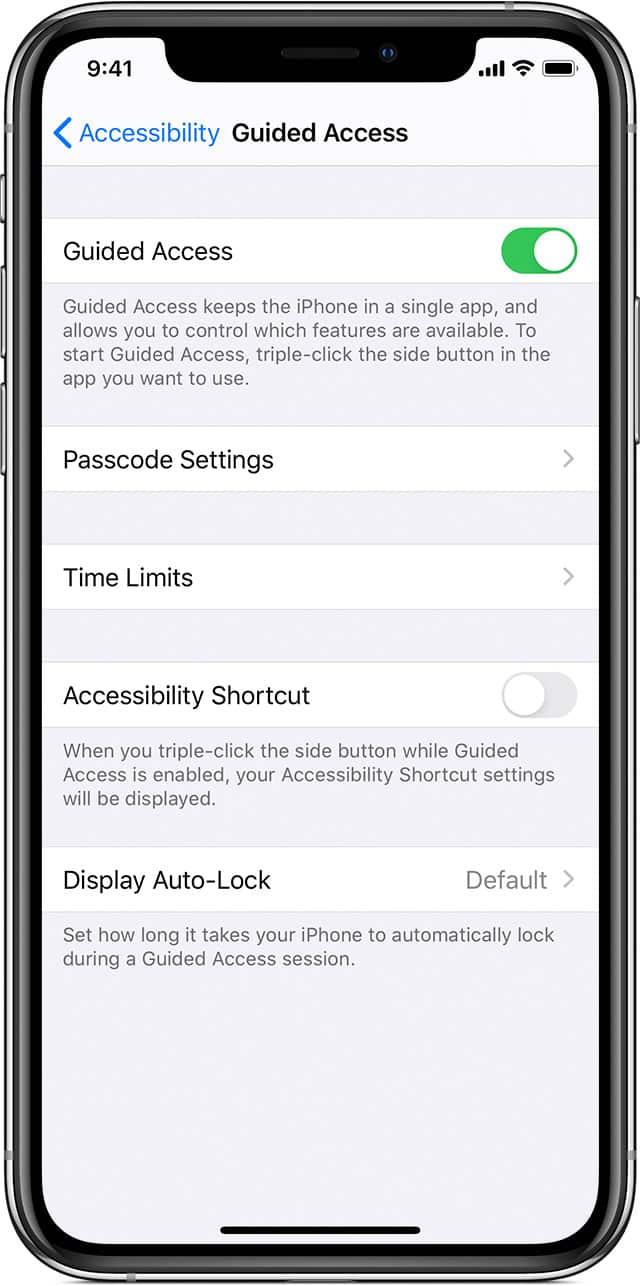
‘Guided Access’ allows you to concentrate on a single app without being distracted by other processes. It does this by restricting access to areas of the screen which are not applicable to the current task. This is particularly useful for anyone with attention and sensory challenges who have difficulty concentrating or are tempted to explore other areas of the app or device.
How to use guided access on iPhone
Step 1: Launch the app you’d like the user to have access to. In this case, we used Camera.
Step 2: On iPhone with a Home button, triple-click the Home button, or on iPhone with Face ID, tripple click the Side button to launch Guided Access.
Step 3: Circle any areas of the screen that you would like to make inaccessible.
Step 4: Click on “Options” in the bottom left corner.
Step 5: Choose whether or not you want to grant access to the Sleep/Wake button, Volume buttons, touch screen, and motion.
Step 6: Click “Done” to save your selections.
Step 7: Click on “Start” at the top of the screen to begin Guided Access.
Note: After you have kickstarted you session, anyone who tries to leave that particular app will have to enter the passcode. If they don’t know the pre-set passcode, they won’t be able to exit Guided Access.
Once you have completed your task, you can simply triple-click the Home button and then enter the Guided Access passcode to end the session. On your iPhone X, you have to double-click the side button and then enter a passcode or use Face ID to end the session. If you don’t know how set up guided access on iPhone or iPad you can refer here.