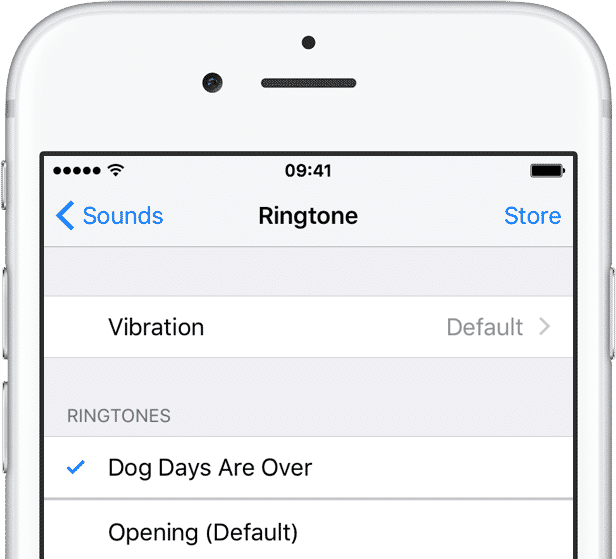
Most smartphone users choose to have their own unique ringtone. The only issue is that unlike Android phones, making ringtones for iPhone isn’t a simple task. Go ahead and take a look at the iTunes Store – you’ll quickly realize that you have to buy most of the custom ringtones. Fortunately, we are going to be showing you how to create your own custom ringtones on iTunes for free!
How to create an iPhone ringtone using a song in iTunes
– Step 1: Launch iTunes on your desktop or laptop computer.
– Step 2: Pick the song or audio file you want to use from your iTunes library.
– Step 3: Right click on the song and select “Get Info.”
In the Get Info window, selection the Options tab and change the Stop and Start Time to read the segment of the song that you want to save as a ringtone. The ringtone length cannot exceed 30 seconds.
If you want to start at the beginning of the song, set the start time to 0:00 and the end time to the number of seconds you want the ringtone to be.
If you want to start at the chorus of a song, play it first to determine what time the chorus starts and then use that number as the Start Time, and no more than 30 seconds after that as the Stop Time. For example, Start Time – 2:15, Stop Time – 2:45.
You have to make sure the check boxes next to the Start and Stop times are checked. This is very important.
When you have entered the Start and Stop Time, click OK.
– Step 4: Click on the song to select it, and in the Menu Bar, go to File > Convert, and select “Create AAC version.”
iTunes will take the segment you have just selected from the song in Step 3 and use it to create the new file. A second song with the same name but new length should appear right next to the original in iTunes. If it doesn’t appear right next to the original, make sure you sort the song title column in iTunes by alphabetical order.
– Step 5: Right click on the new song and select “Show in Finder” (if you are using a Windows-based operating system, select “Show in Windows Explorer). The new song will show up in your Finder window as an .m4a file. Click on it to select it.
– Step 6: Rename the extension of the file from .m4a to .m4r. Make sure you just rename the extension, not the file. This step is very important. Changing it to .m4r turns the file into a ringtone. If you don’t see the file extension, follow this tutorial to learn how to show filename extensions on Mac. Make sure to select Use .m4r when prompted to confirm.
– Step 7: Go back to iTunes and delete the newly created short song. To delete the song, select it and press the Delete key on your keyboard, or make a right click on the song and select Delete. iTunes will ask you if you’re sure you want to delete the song. Click Delete Song.
When asked whether you want to move the selected song to the Trash or keep it in iTunes, select “Keep File.” This step is also important. If you do not remove this song, the ringtone will not save to iTunes properly.
– Step 8: Go back to Finder (or Windows Explorer) and double click on the .m4r file you created in Step 6 above. The ringtone will automatically move to your iTune’s Tone library.
– Step 9: Connect your iPhone to iTunes.
– Step 10: Select the “Tones” tab from the iPhone section.
Under the Tones section, select “Sync All Tones” and then click on the “Sync” button at the bottom of the iTunes screen.
When your iPhone is done syncing, the new ringtones can be found in your Settings app on your device.
Go to Settings > Sounds & Haptics > Ringtone, and select your new clip. These clips can also be used as text message tones, so you can really let your creativity shine.
Now get out there and start making some sweet ringtones. I’m tired of hearing the same old “Marimba” song.
>>> Visit website https://pagestart.com/ to download more tips for ios, iphone, apple updated every day!

