Backing up mobile devices is important. But what happens when your Mac or computer doesn’t even have enough space for your iPhone or iPad backups?
Depending on the size of your device, backing up multiple times could really start to take a toll on your computer’s storage space.
How do you solve that issue? With an external hard drive of course. We will show you how to get iTunes to automatically backup your device to and external hard drive.
9 Easy Steps to Backup iPhone or iPad to External Drive
Getting iTunes to automatically recognize and backup your device may not be the easiest thing in the world to do, but is definitely worth it if you are running low on disk space.
You will be using commands lines and functions, so a little familiarity with that would be helpful. With or without previous knowledge of those functions, you’ll need your mobile device, a USB cable to hookup to your computer and an external drive. Once you have all that we are ready to go.
Step 1:
Connect your external hard drive to the computer. Make sure you have an external with enough space to hold your iPhone or iPad backup(s).
You can create a new folder on the drive called “iPhoneiTunesBackups” to make sure we can find the folder later and properly address it in the following steps.
Step 2:
- Open a new Finder Window by: opening Finder (Command + Spacebar and type Finder) and going to File -> New Finder Window.
- In that new Finder window: type Command+Shift+G to open the go-to-folder path.
- In the blank text field enter: ~/Library/Application Support/MobileSync/
Step 3:
This will take you directly to the folder we will be working with. Select the folder titled “Backup” -> and create a copy.
Step 4:
Go to your external drive and find the folder you just created. My folder is called iPhoneiTunesBackups. We are going to paste the copy from Step 3 into the folder on our drive.
Step 5:
Make sure that the folder is correctly copied. Back in the original folder (the one found entering ~/Library/Application Support/MobileSync/ into Finder) rename the folder to BackupOld or something along those lines.
Step 6:
- Open Terminal (Command + Spacebar and type Terminal) -> and enter the following:
ln -s /Volumes/MYPASSPORT/iPhoneiTunesBackups/Backup/ ~/Library/Application Support/MobileSync
- You will need to change the sections after Volumes to match the name of your external drive -> MYPASSPORT and the name of the folder on your external drive ->iPhoneiTunesBackups.
- Once you have checked that all of that is accurate in Terminal, you can hit enter/return. Quit Terminal.
Step 7:
After quitting Terminal, you may be wonder what the heck just happened. So to confirm that Step 6 did anything you are going to repeat Step 2.
- Open a new Finder Window by opening Finder (Command + Spacebar and type Finder) and going to File -> New Finder Window.
- In that new Finder window type: Command+Shift+G to open the go-to-folder path.
- In the blank text field enter: ~/Library/Application Support/MobileSync/ (should already be saved in the text field).
If our steps were successful, you will see the Old Backup folder as well as the new, copied Backup folder with an arrow pointing to it.
-> That just means that this Folder is now linking to the Folder that exists on your external.
Step 8:
- Open iTunes and connect your device.
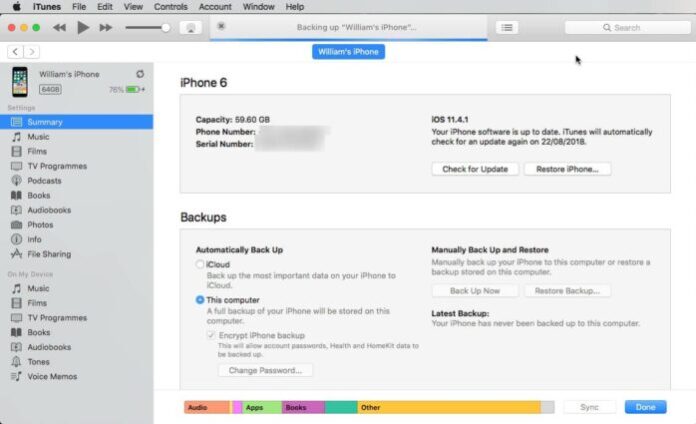
- Find the device within iTunes and in the Backups section, click This Computer and choose Back Up Now.
-> This new backup will be saved on your external hard drive if all the steps above were done correctly.
Step 9:
Check to make sure your most recent back was actually saved onto your backup folder on the external. Every time you back up your iOS device to your computer, iTunes will store that backup on your external. Of course, your external needs to be plugged in whenever you wish to create a new backup.
If you would like to undo all of this lovely work:
- Simply go back to ~/Library/Application Support/MobileSync/ and delete the folder with the arrow on it.
- Then change the name of the old folder back to Backup.
>>> Hope the article “Backup iPhone or iPad to External Drive in 9 Easy Steps“ is useful to you. To download more latest tips for ios, iphone, apple, please visit website https://pagestart.com/.

