
Want to add a simple border to a picture with an iPhone or iPad? We’ll show you a simple trick that allows you to place a colored border around a photo in iOS, without needing any additional downloads or apps.
How to add borders to photos on iPad and iPhone
– Step 1. Open the Photos app on the iPhone or iPad and choose the picture you want to add a border to so that it’s the primary image on the screen
– Step 2. Tap the “Edit” button in the corner
– Step 3. Next, tap the (…) three periods button
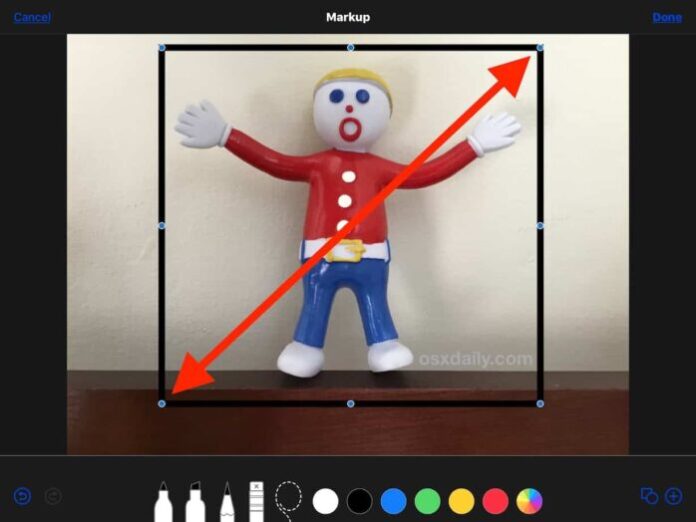
– Step 4. Now tap on the “Markup” button
– Step 5. Once in Markup, tap on the (+) plus button
>>> See more: 8 of the best iOS 13 tips for iPhone
– Step 6. From the element options, tap on the square
– Step 7. This places a black square on the image, while the square is selected you can tap the color options to change the border color, and you can tap the little square / circle button in the corner to change the thickness of the border matte if desired
– Step 8. Now tap and drag on the blue dots on the square to adjust the box so that it’s at the edge of where you want the photo border to be
– Step 9. Tap on “Done” when satisfied with the placement of the square border
– Step 10. Now tap on the Crop button, it looks like a square with some arrows rotating around it
– Step 11. Drag the crop selector handles so that they are aligned with the outside square border you just placed, then tap on “Done”
– Step 12. That’s it, you’ve drawn a border onto the photo from iOS!
In the example images used in this tutorial, we used an iPad to place a black border around a photo, but you can use any other color for the border by using the color wheel selector or by tapping the other color options if you’d like to.
Thanks for reading!