
Creating a custom-designed environmental chamber is a rewarding and challenging project that requires careful planning and execution.
Whether you are a scientist conducting experiments that require precise temperature and humidity control, or an engineer testing the performance of electronic components in extreme conditions, having a reliable environmental chamber is essential.
In this step-by-step guide, we will walk you through the process of making your custom-designed environmental chamber, covering everything from selecting the right materials to assembling the chamber and testing its performance.
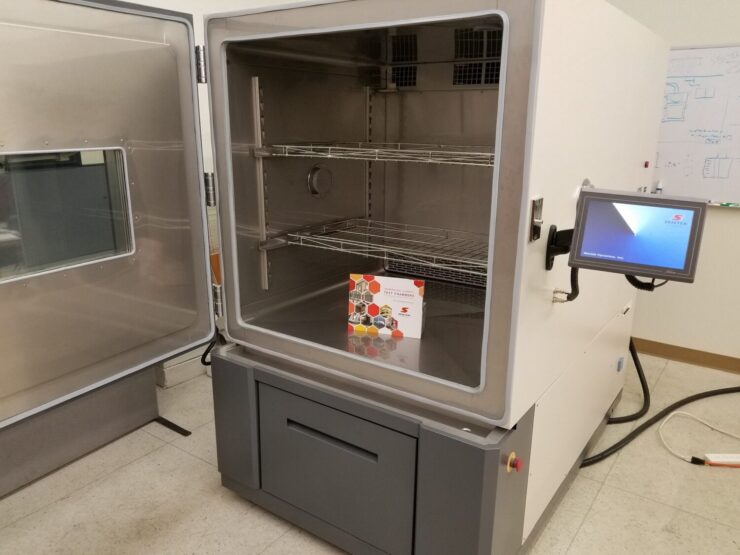
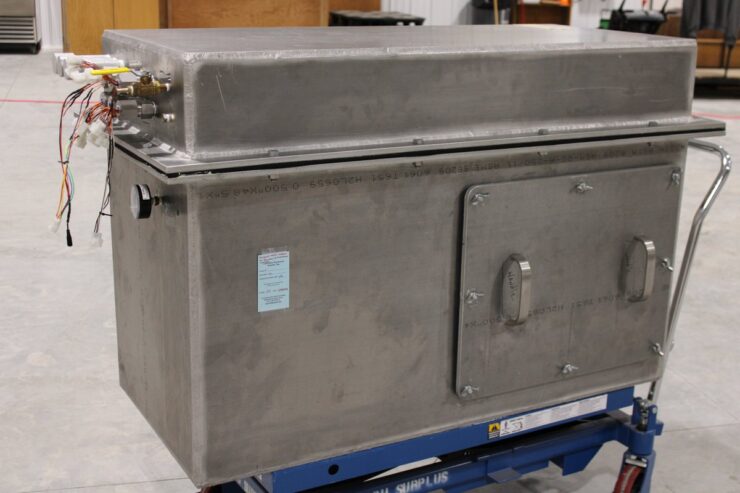
Gathering Materials and Equipment
To begin the process of making a custom-designed environmental chamber, the first step is gathering all the necessary materials and equipment.
This includes items such as a large insulated box, temperature and humidity control systems, sensors, fans, and a control panel. Additionally, you will need various tools like a drill, screwdriver, and measuring tape.
It is important to ensure that all materials are high quality and suitable for the specific requirements of the environmental chamber you are creating. By carefully selecting the right materials and equipment, you can ensure the success and effectiveness of your custom-designed environmental chamber.
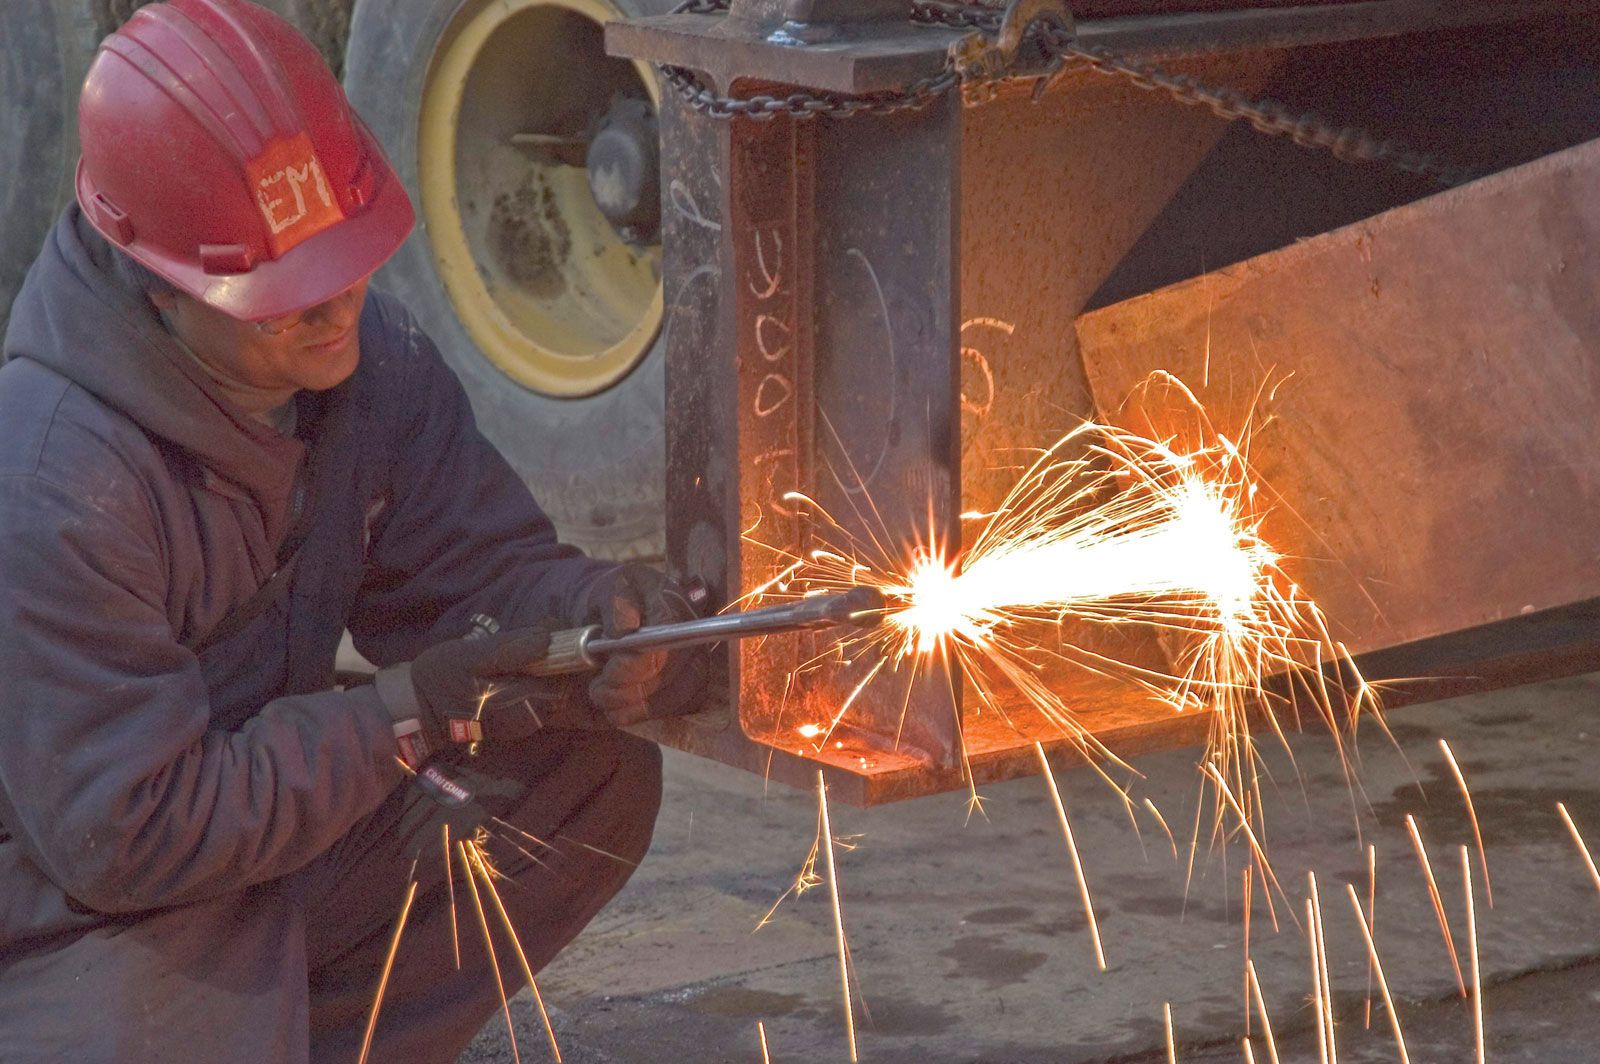
Constructing the Chamber Frame
Constructing the chamber frame is a critical step in the process of making a custom-designed environmental chamber. First, gather all necessary materials including sturdy metal rods, nuts, bolts, and a welding machine.
Measure and cut the metal rods to the desired lengths, ensuring they are all equal in size for a uniform frame.
Next, use the welding machine to carefully join the pieces together, creating a sturdy and stable frame for the chamber. Make sure to double-check all measurements and welds to ensure the frame is secure and will support the weight of the chamber components.
This step is crucial in ensuring the overall functionality and durability of the environmental chamber.
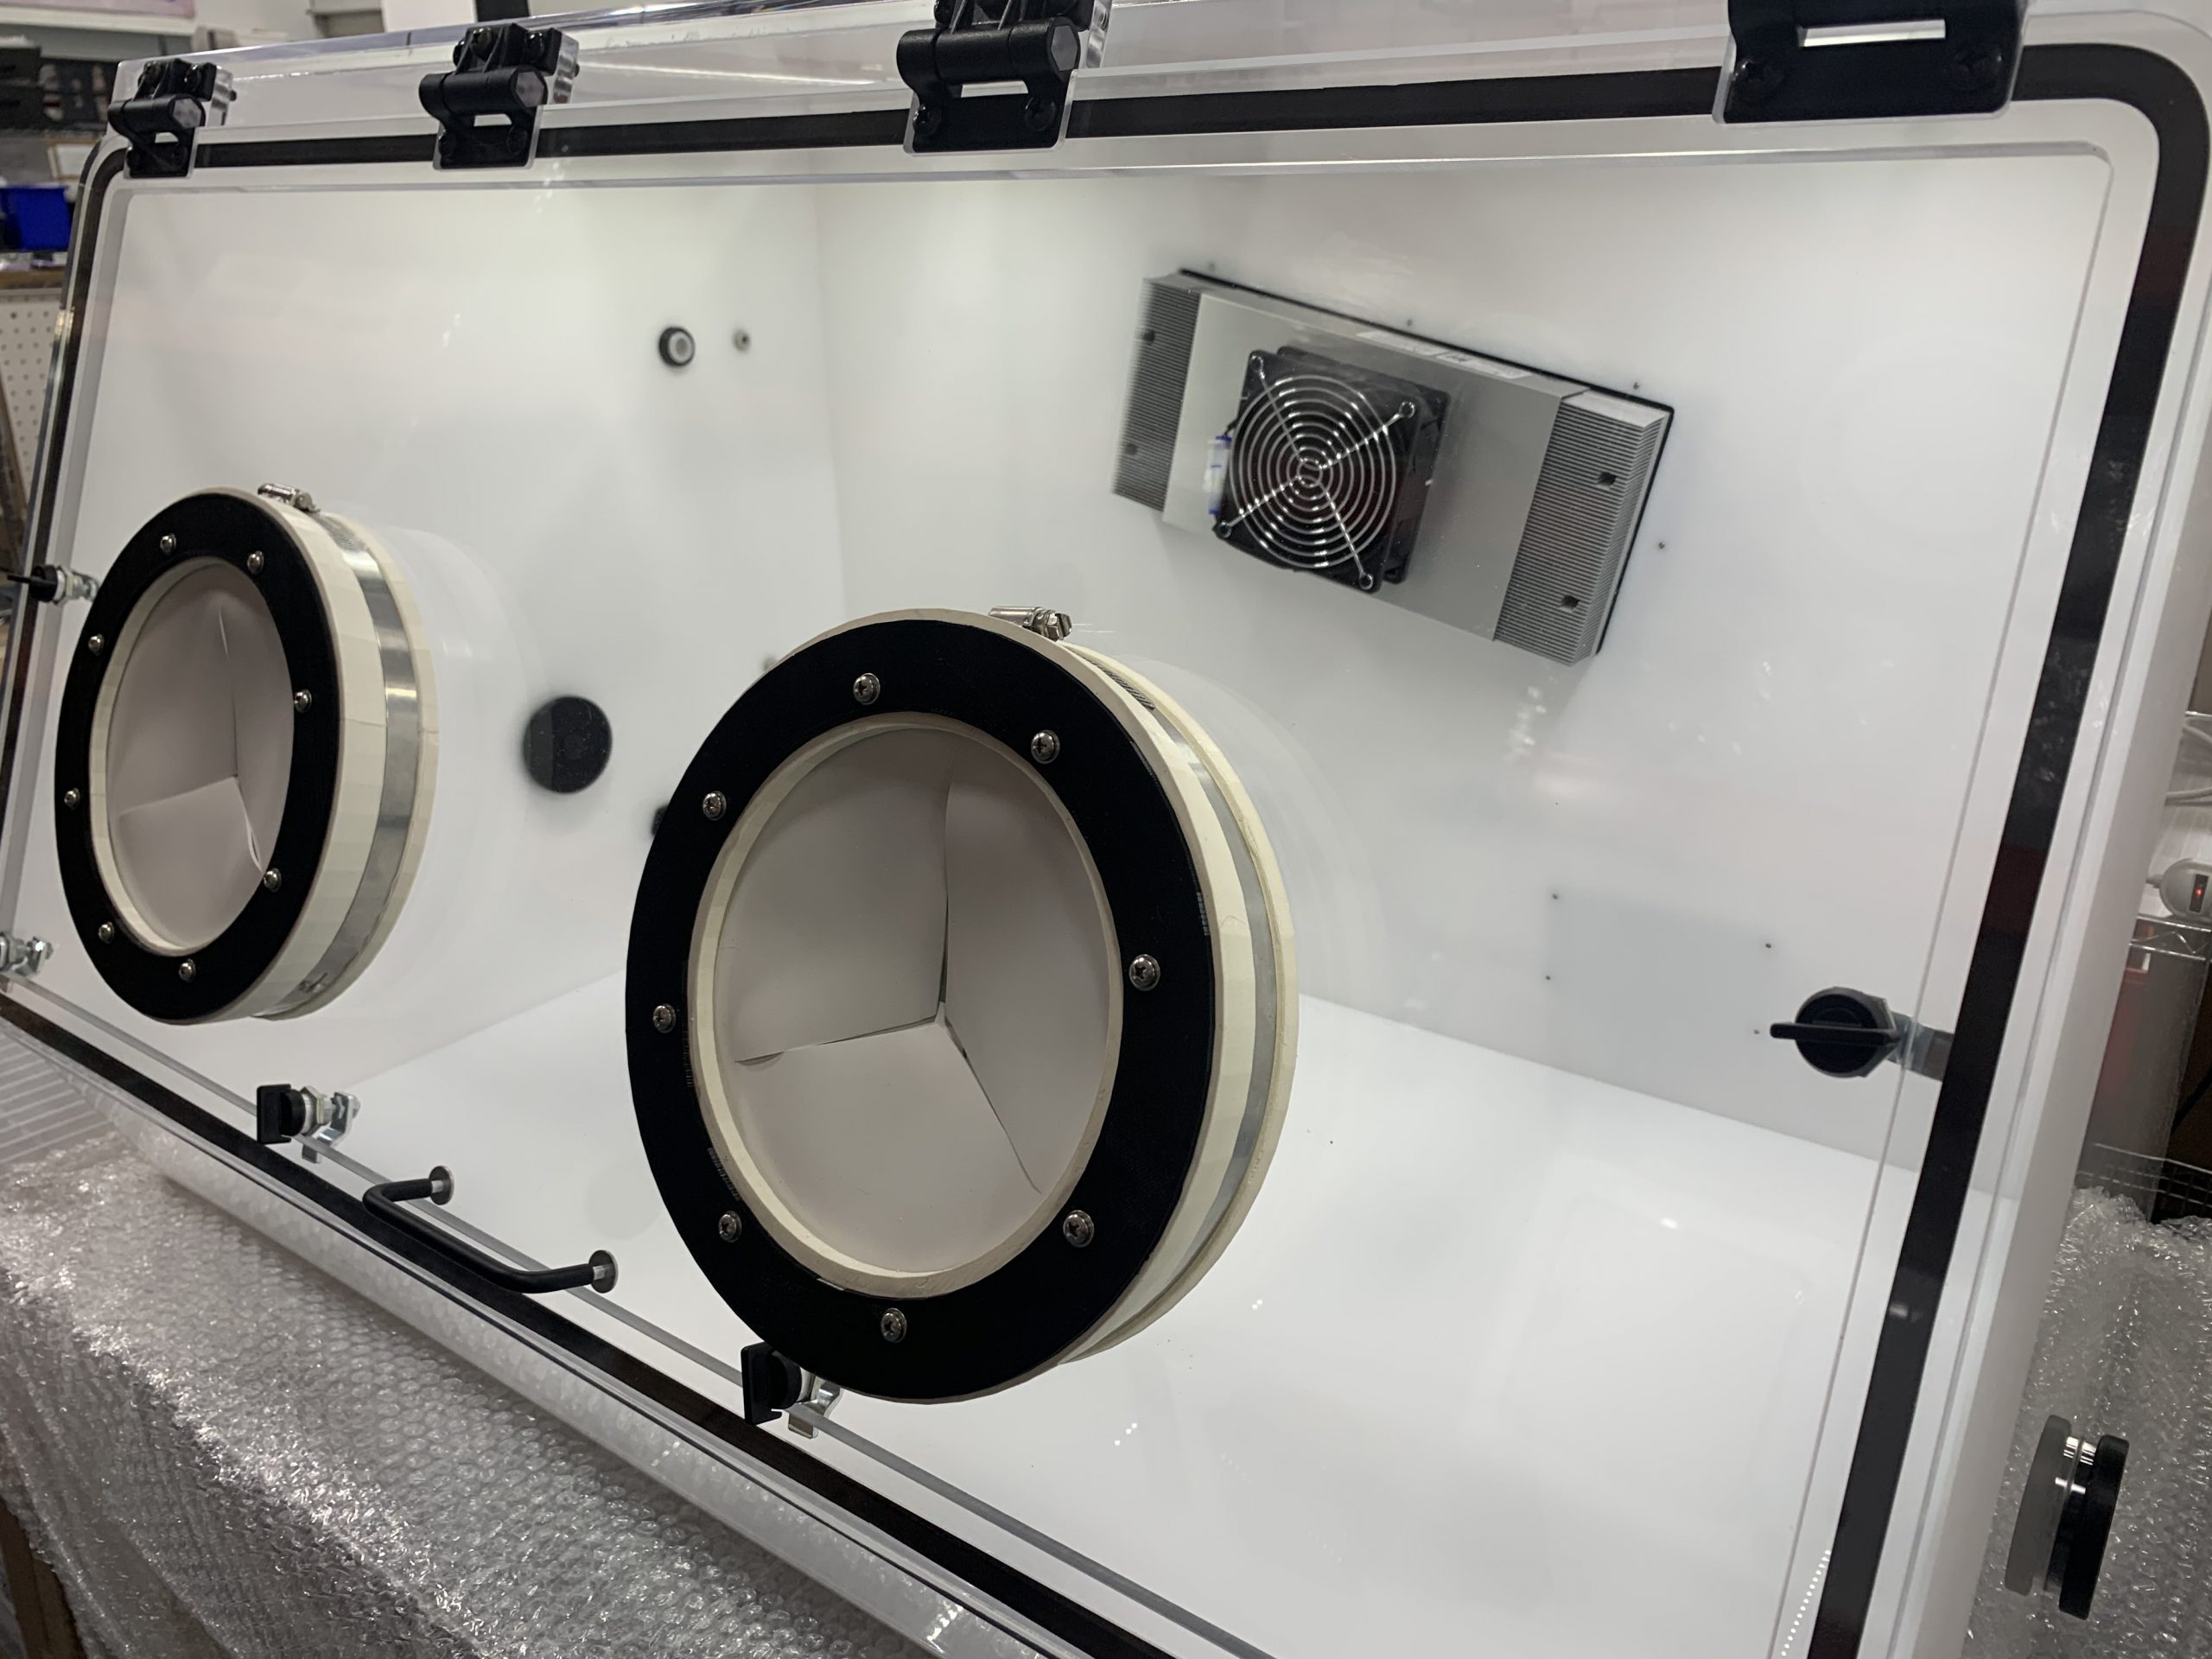
Installing Insulation and Sealing the Chamber
Before proceeding with installing insulation and sealing the chamber, it is important to gather all the necessary materials and equipment, including insulation panels, adhesive, tape, and any other sealing materials. Begin by cutting the insulation panels to fit the walls and ceiling of the chamber, making sure to leave space for any openings or vents.
Secure the panels in place using adhesive and tape, ensuring that there are no gaps or air leaks. Next, seal any joints or seams with additional tape or sealing materials to prevent any air from escaping.
Once the insulation is properly installed and sealed, the chamber will be more energy-efficient and better able to maintain a stable environmental condition for your desired purposes.
Conclusion
In conclusion, creating a custom-designed environmental chamber allows for precise control over environmental conditions, making it an essential tool for testing and research in various industries.
By following this step-by-step guide, individuals can successfully build their enviromental test chamber tailored to their specific needs and requirements. From selecting the right materials to assembling the components, each step is crucial in ensuring the chamber’s efficiency and reliability.
With the ability to simulate a wide range of environmental conditions, a custom-designed environmental chamber opens up new possibilities for experimentation and innovation in numerous fields.